User Management
User Roles and Permissions
User roles and permissions are a critical aspect of access control within the organisation. They define the level of access and actions that different users or groups of users can perform. By assigning specific roles and permissions, you can ensure that users have the appropriate level of access to different features, functions, and data within an account.
Types User Roles and Permissions:
- Owner: The owner possesses unrestricted access to all features. An account can have only one owner. Should you desire to change the account owner, you have the option to transfer ownership at any time.
- Admin: Administrators possess nearly all the capabilities available to owners, barring access to account-level security features which are Single Sign-On (SSO) and enforcing Multi-Factor Authentication (MFA) for all users.
- Member: Members are exclusively authorized to review and approve documents that are specifically assigned to them. They do not have access to any other features or documents within the system.
- Moderator: Moderators have the capability to review, approve/confirm, and assign documents. However, their access is restricted solely to these functions and does not extend to other system features or functionalities. They have access exclusively to all documents within a specific document type for which they have authorisation..
API Access Control
In addition to role-based permissions, you have the flexibility to specify which users can access what document types. Not all document types are automatically accessible to everyone. This level of control can be achieved through API access, allowing you to determine and grant access to particular document types for individual users.
Add Users to Your Organisation in Docsumo:
Adding users to your account allows them to access the platform and its features based on the roles and permissions assigned to them. Here's how you can easily add new users:
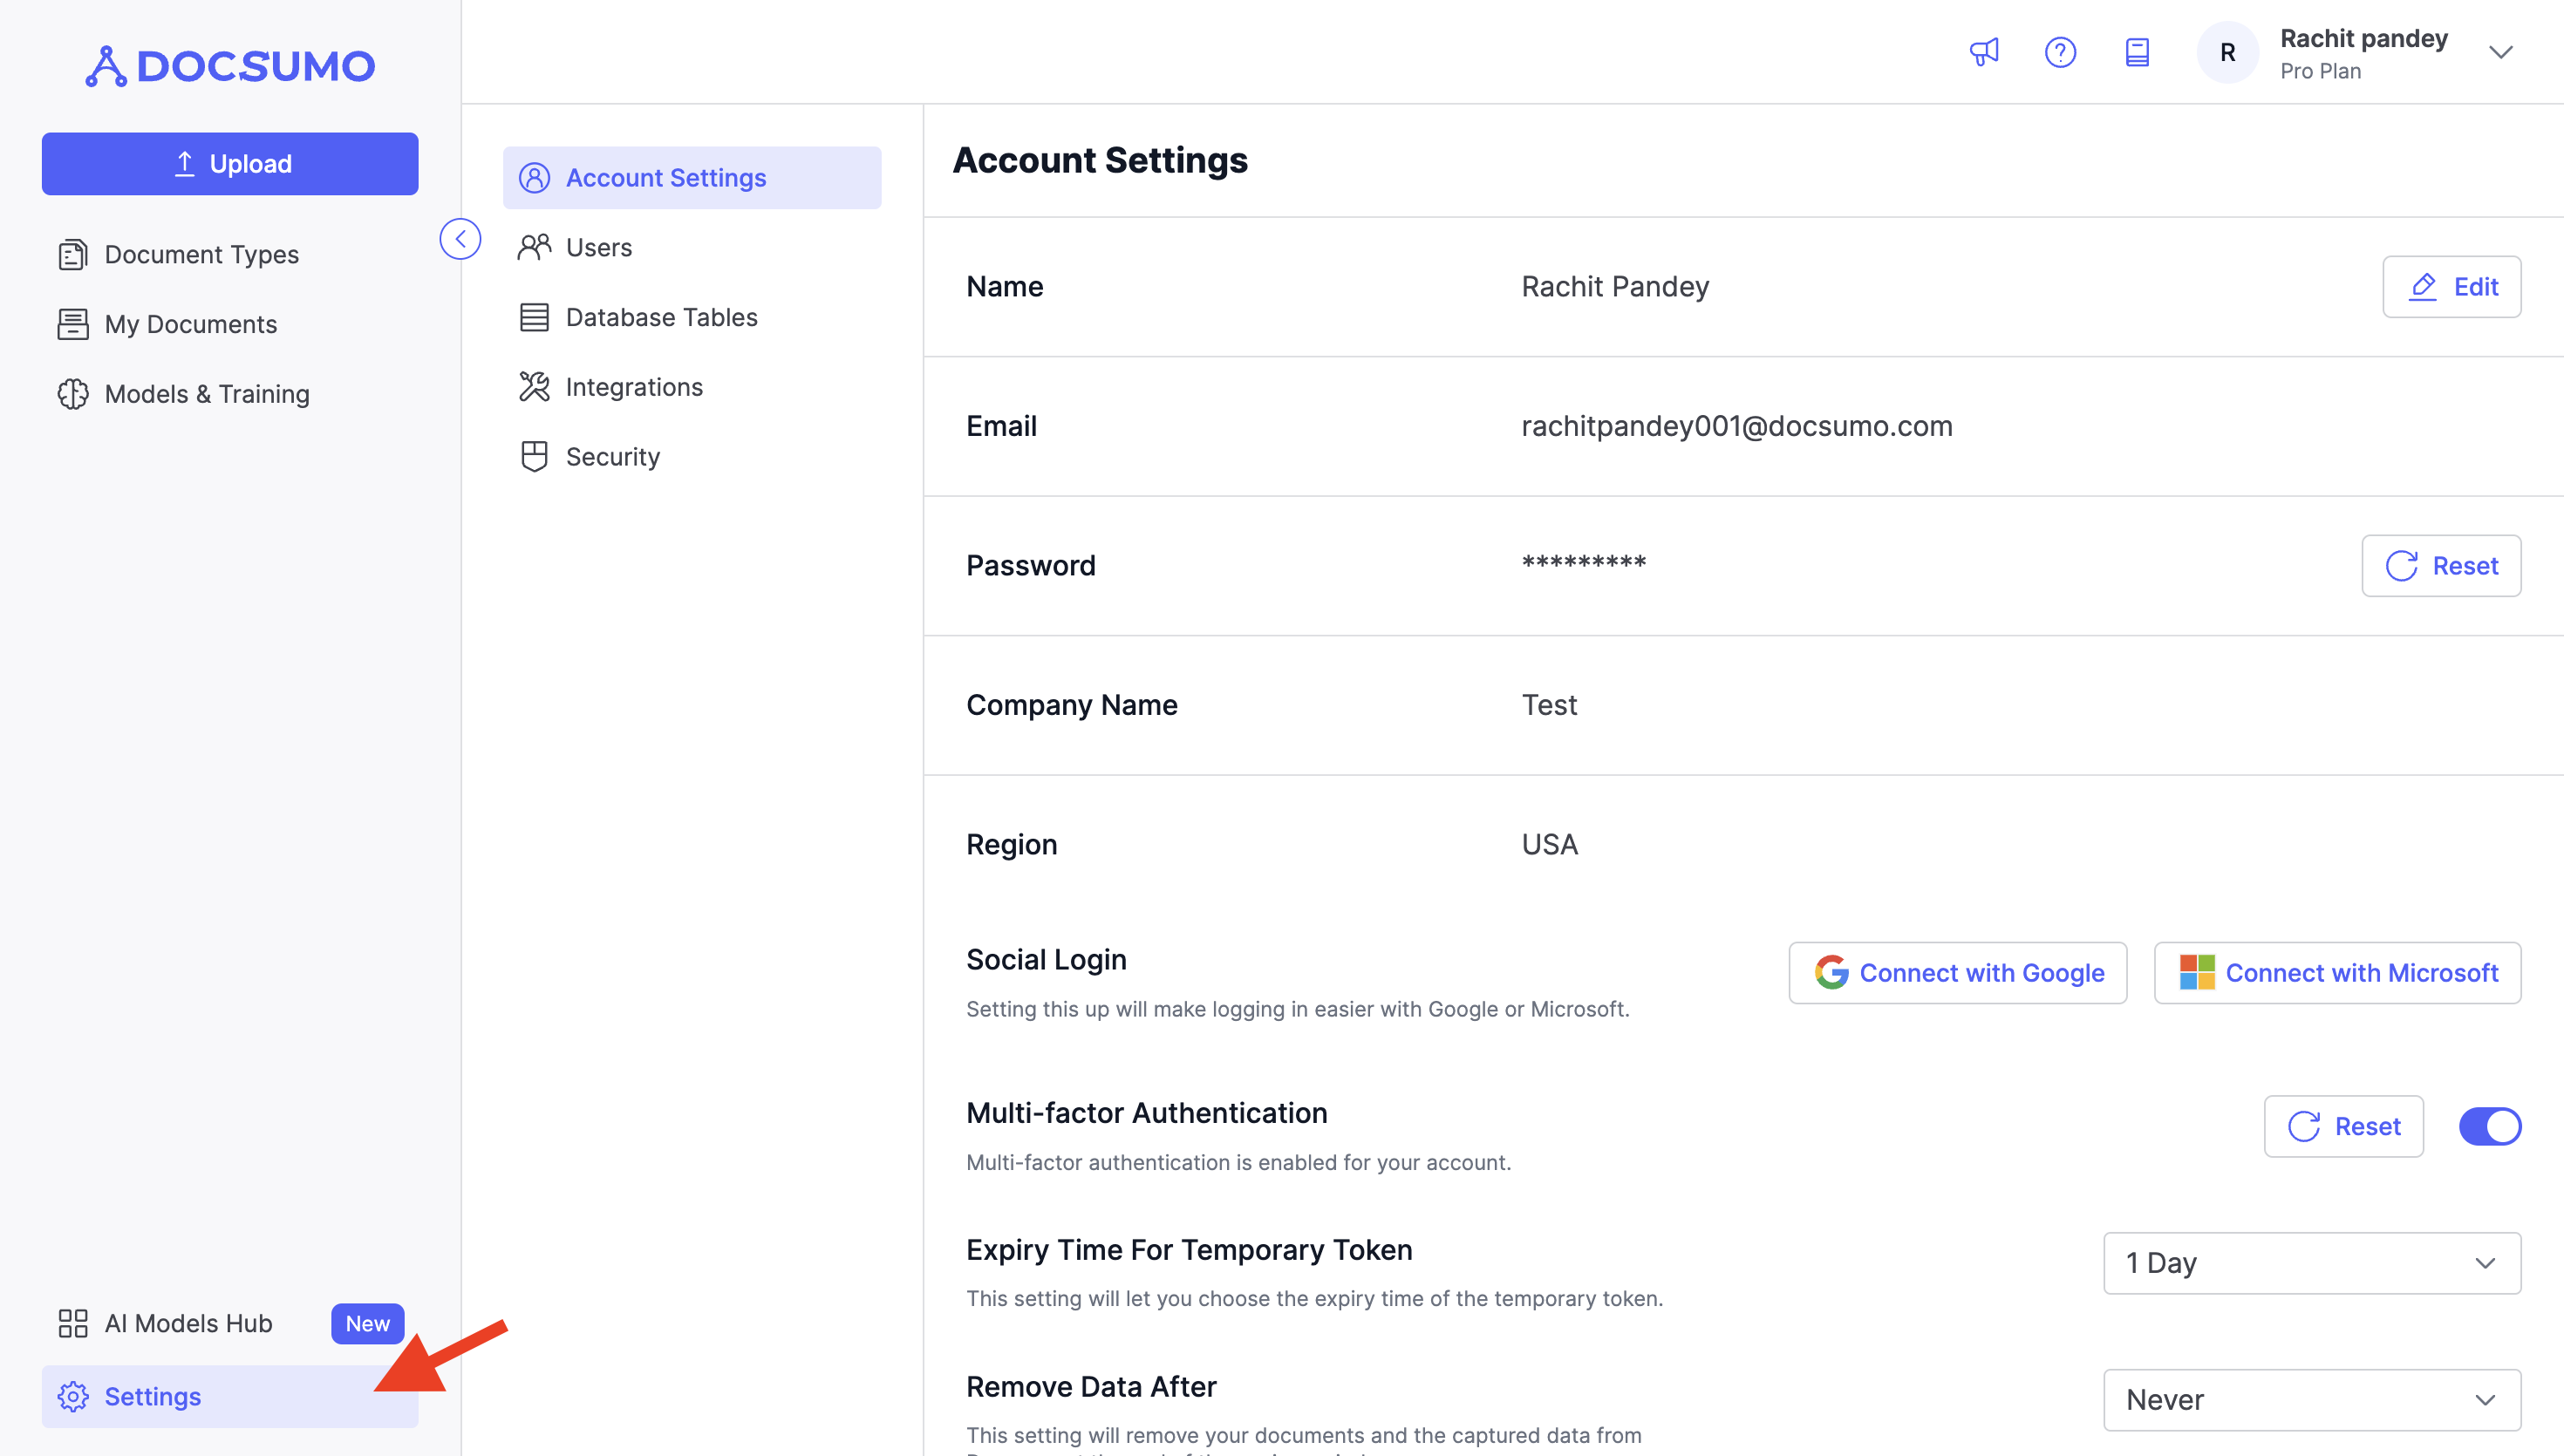
Step 1. Accessing Settings
- Begin by navigating to the "Settings" page.
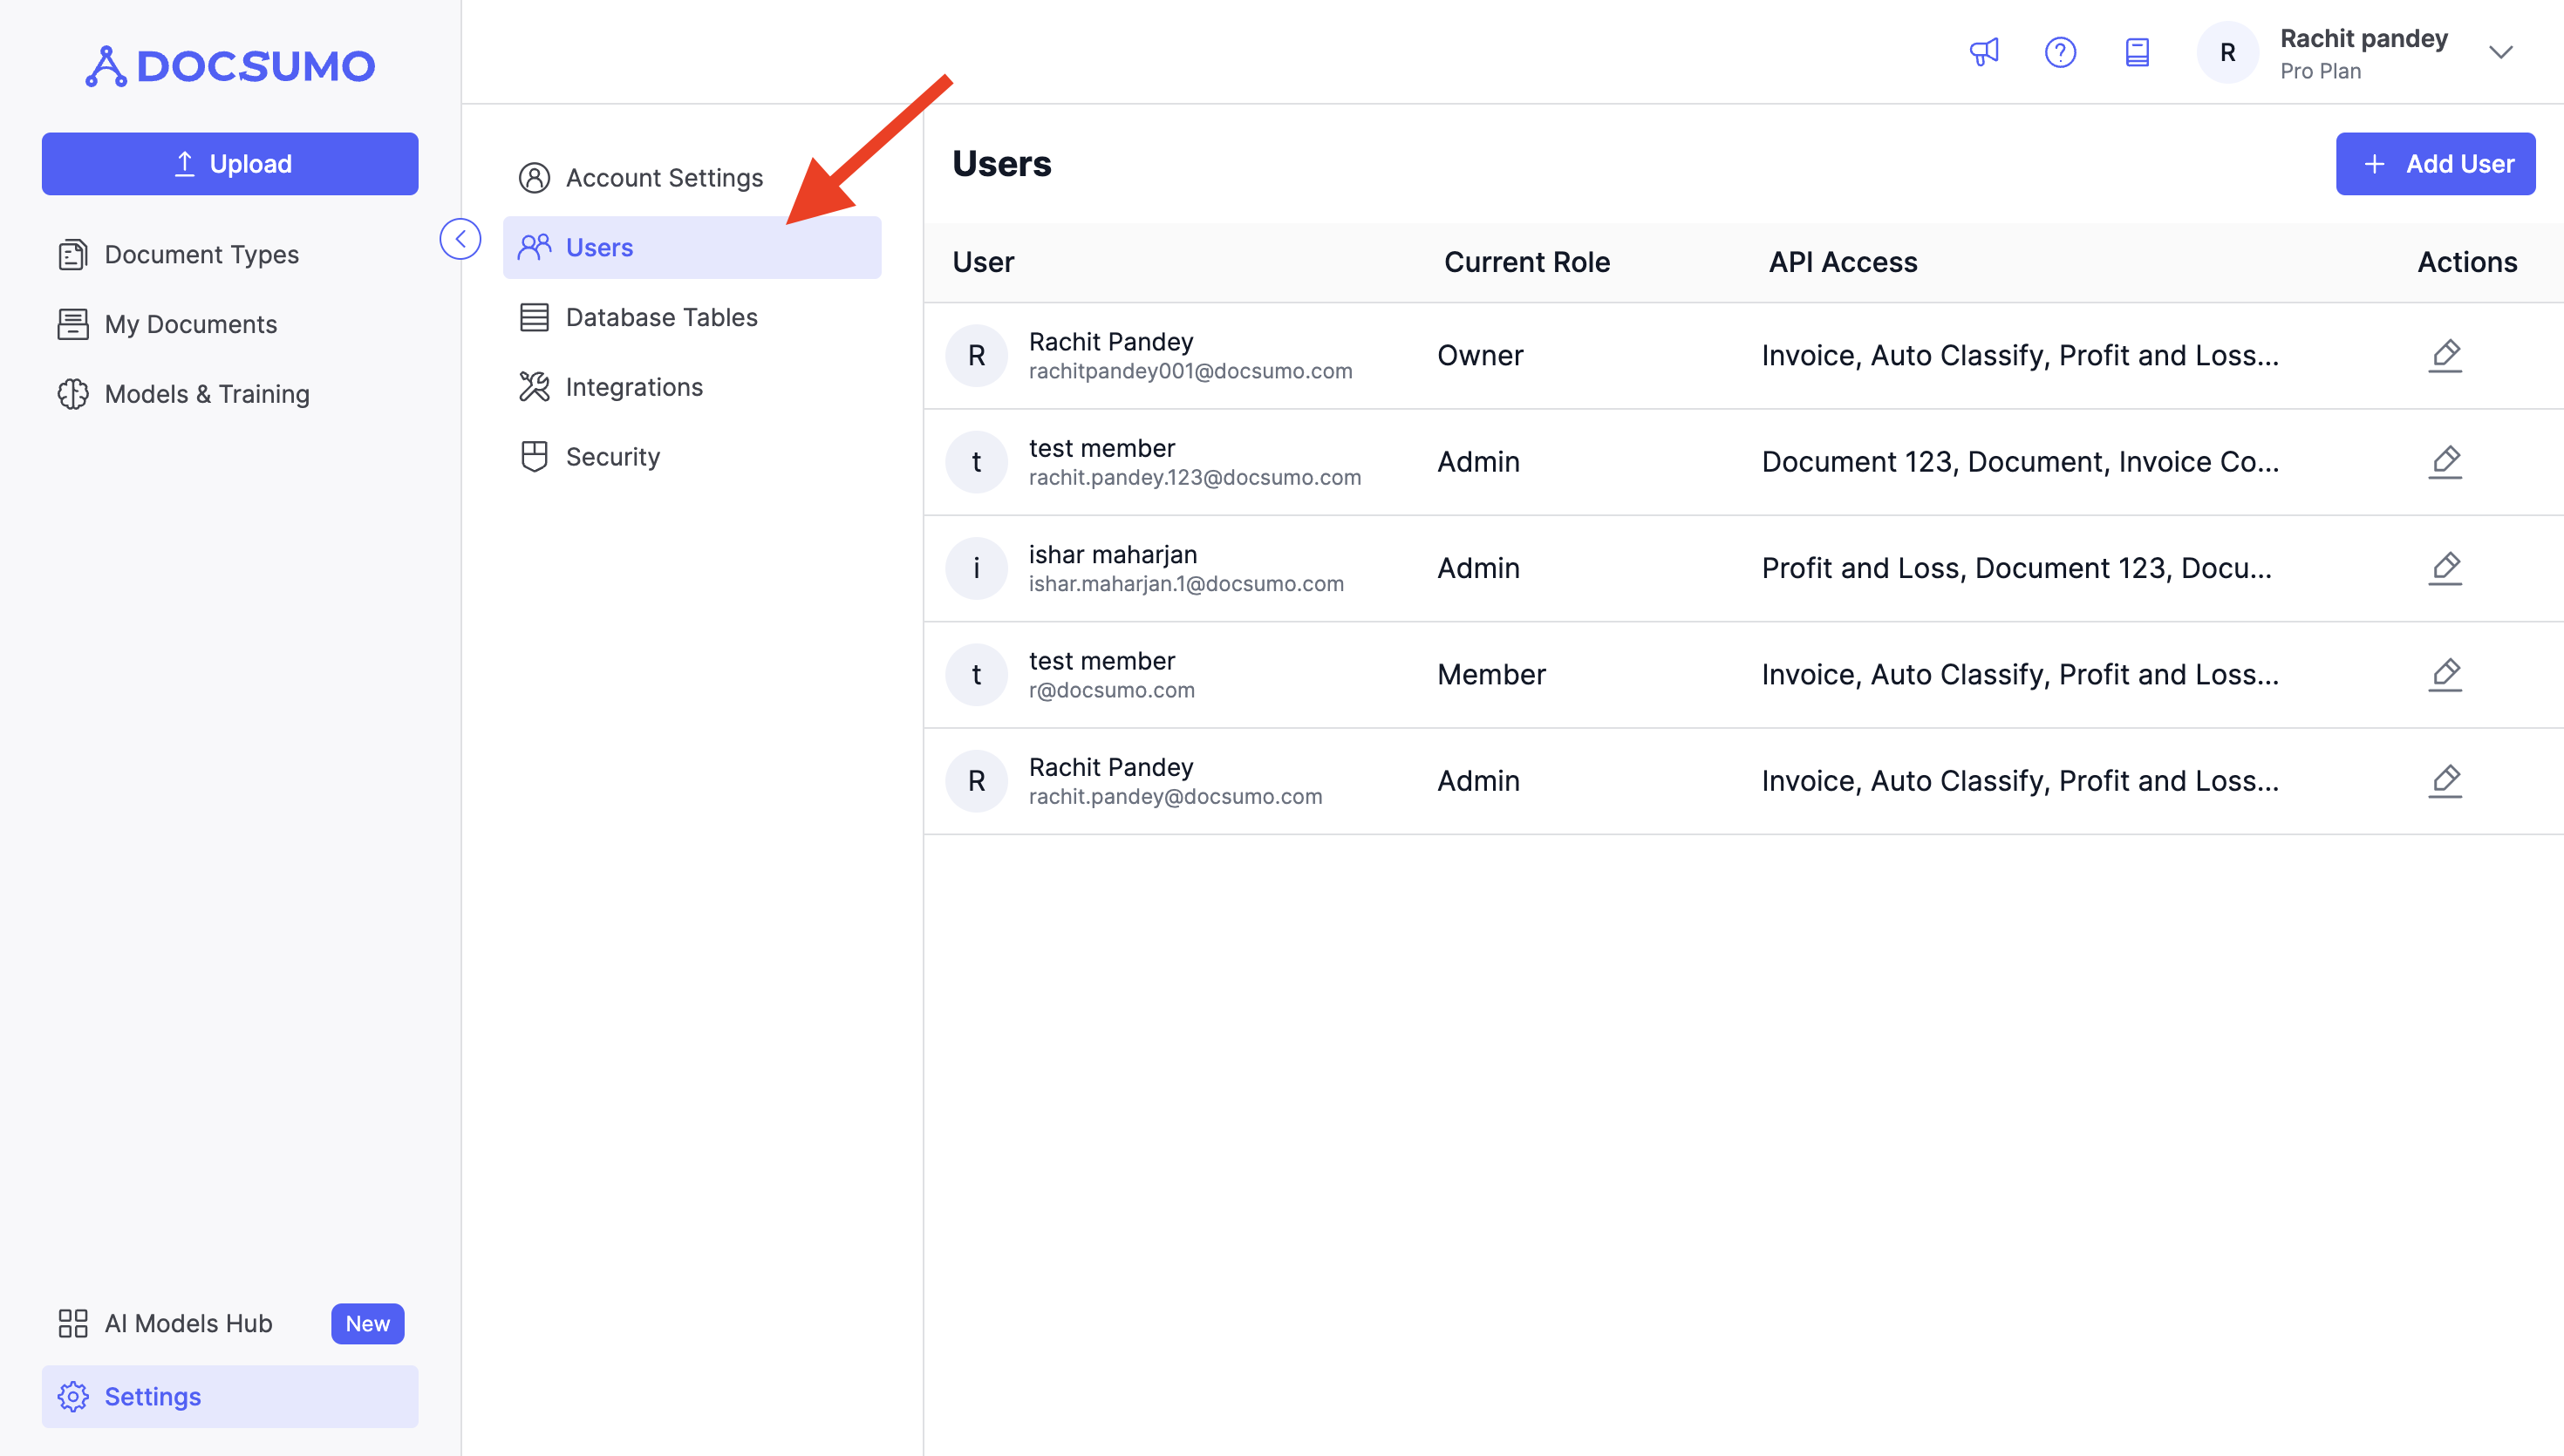
Step 2. Accessing Users Section
- In the Settings page, you will find a section labeled "Users" located at the top-left corner of the screen. Click on it.
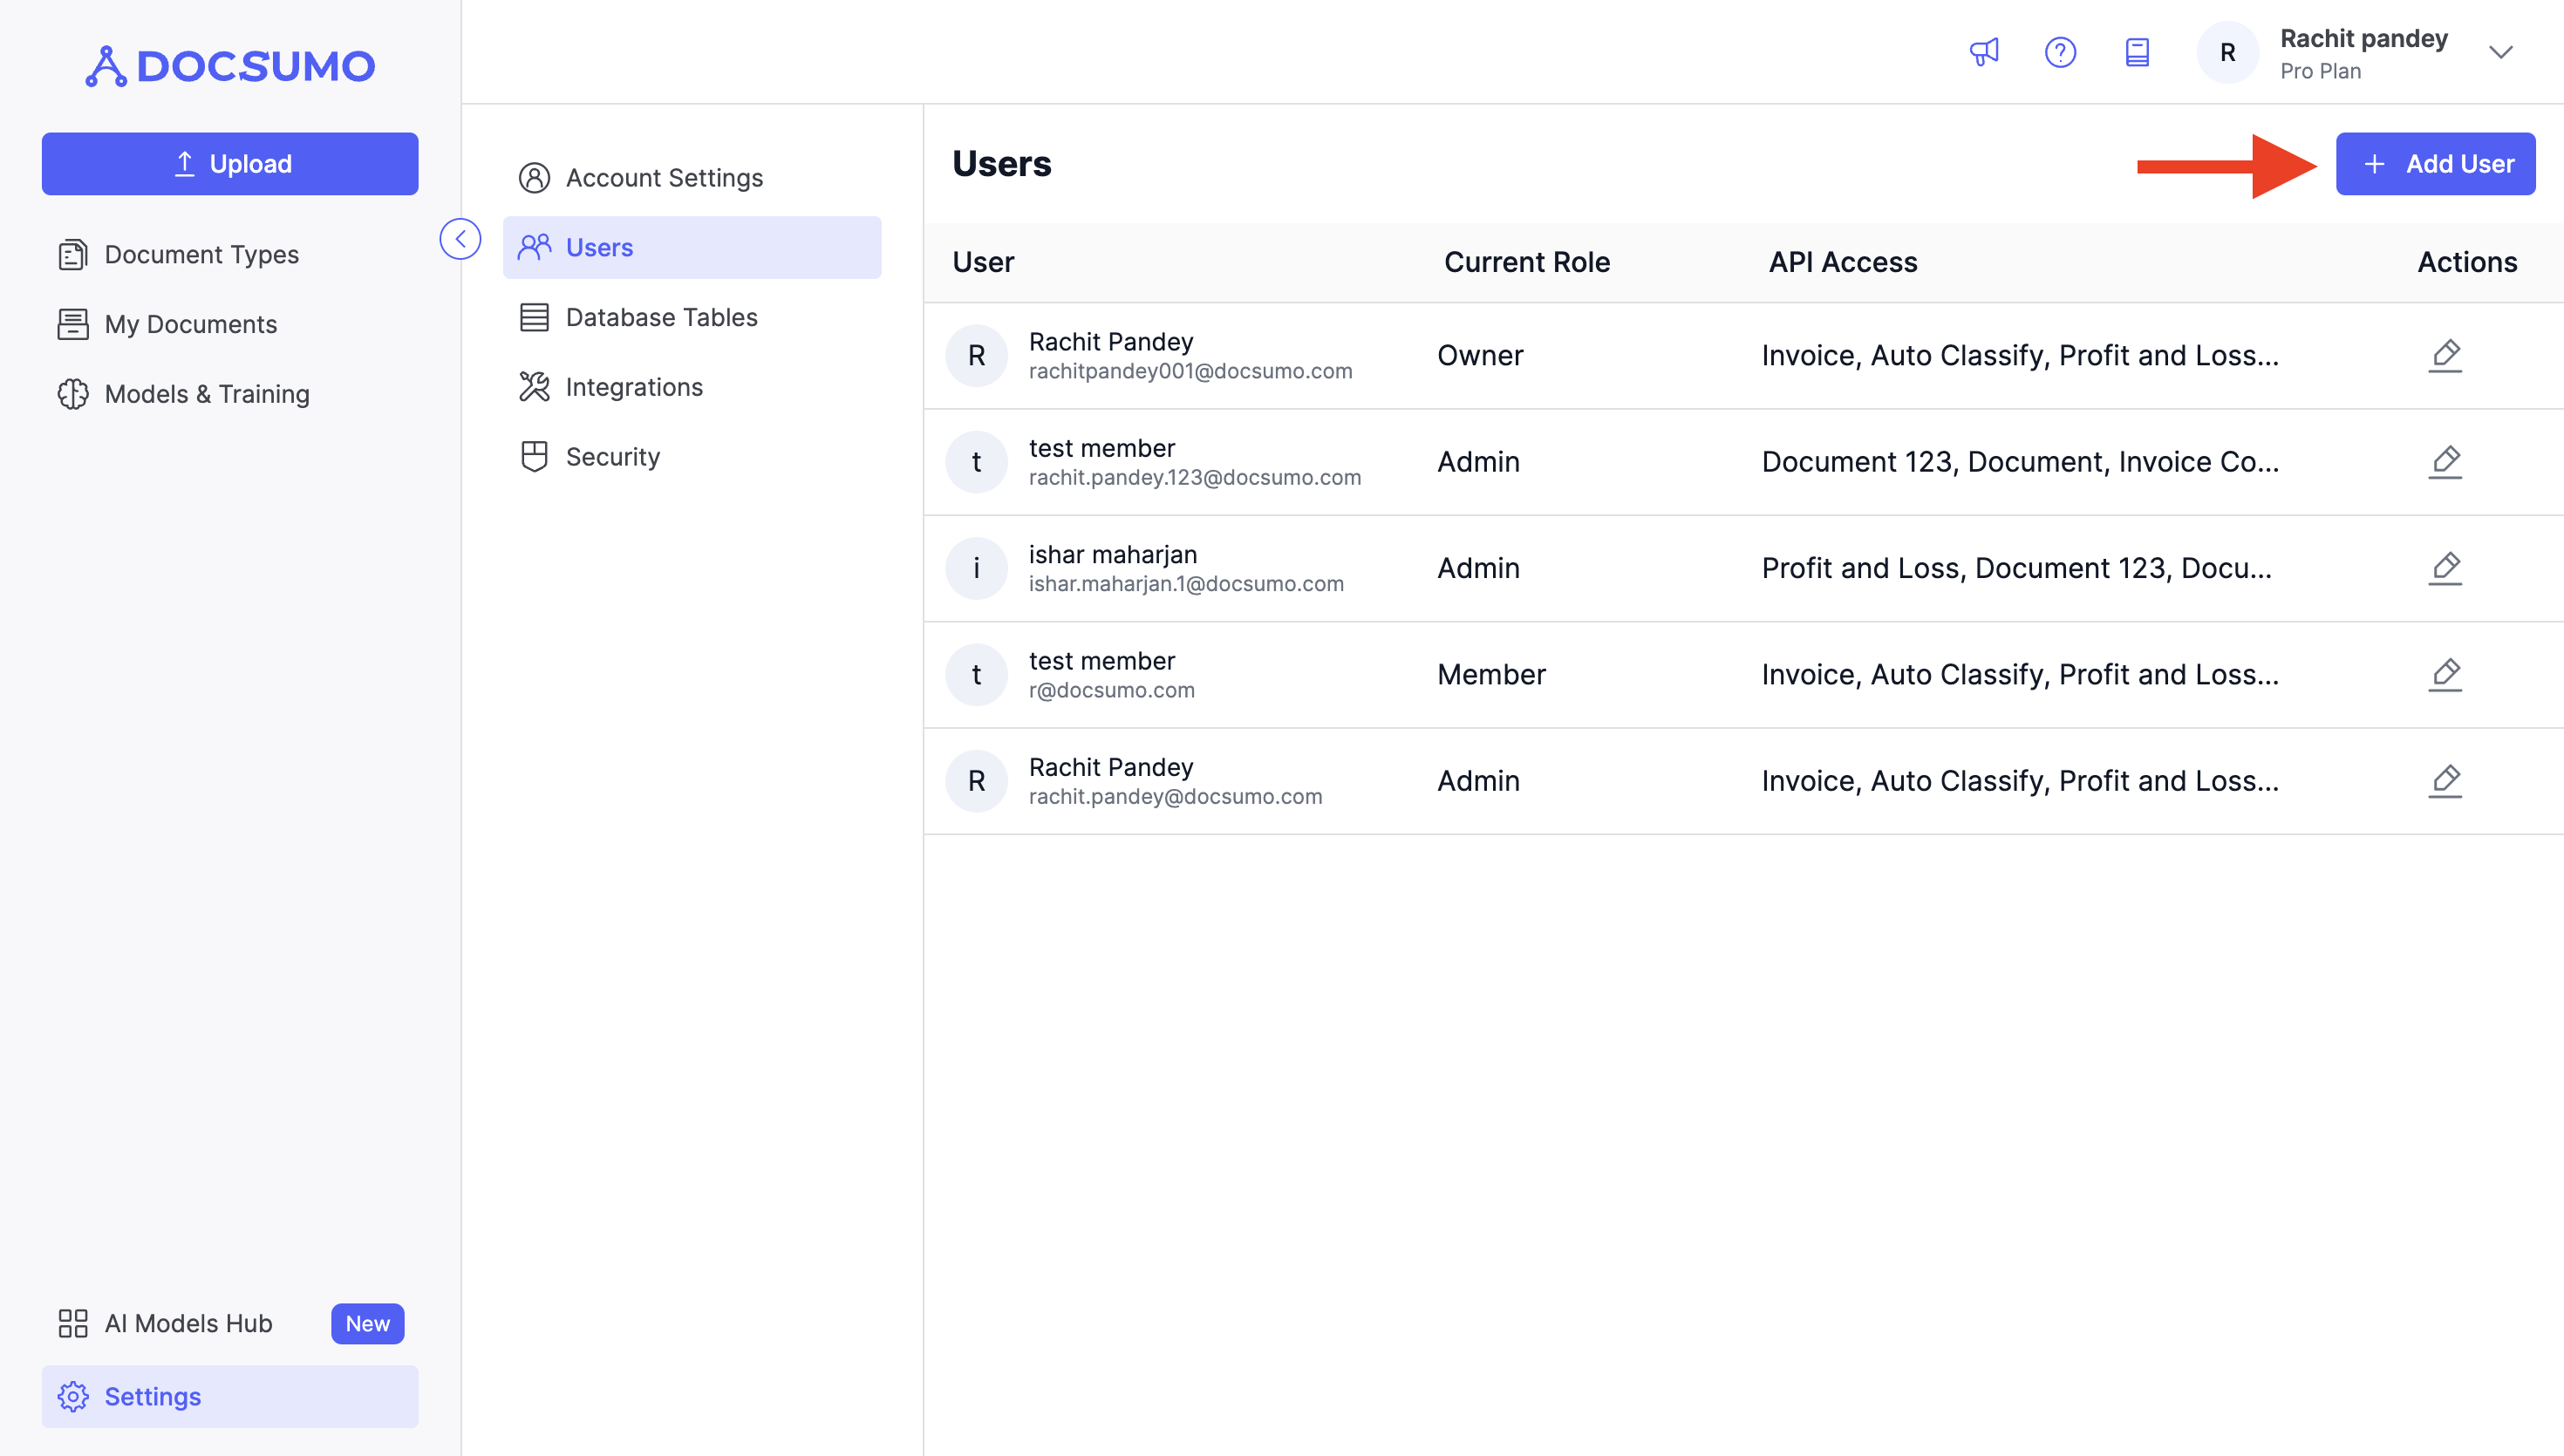
Step 3. Adding a New User
- Within the Users section, locate the "Add User" button positioned on the top-right corner of the screen.
- Click on this button to initiate the process of adding a new user.
Step 4. Enter User Details
- A popup modal will appear, presenting a form with a couple of fields to fill out for the new user
- Full Name: Enter the full name of the user you are adding.
- Email: Input the desired email address for the user.
- Password: You have two options:
- Click on the "Generate" button to create a system-generated password for the user.
- If you prefer to set a custom password, make sure it meets the following criteria:
- At least 8 characters long.
- Contains a special character.
- Contains an uppercase character.
- Contains a lowercase character.
- Contains a number.
Note: The Password that you create, will be a temporary password and the user will need to set a new password while his first login.
- Role: Choose a role for the new user from the available options:
- Owner: Holds the highest level of access and control over the account.
- Admin: Has administrative privileges and can manage everything inside the org apart from the 2 security options: SSO and MFA for whole org.
- Member: Is a standard user with limited administrative capabilities.
- Moderator: Has limited access rights, suitable for monitoring or assisting.
- API Access: Select any desired APIs from the dropdown list to grant access to the new user.
Step 5. Saving User Details
- After completing the form, click on the "Save" button to confirm and add the user.
Congratulations! You have successfully added a new user to your org. Once a user is added they receive an email with the login credentials, which they can use to access the platform.
Edit or change the user access:
Managing user access permissions is crucial for maintaining security and control over your Docsumo account. Follow these steps to edit the access permissions of an existing user:
Step 1. Access User Settings
- Begin by navigating to the "Users" section within your Docsumo account settings.
Step 2. Locate the User to Edit
- On the "Users" page, scroll through the list of users and find the one for whom you wish to edit access permissions.
Step 3. Edit User Permissions
- Once you've located the user, look for a pencil icon (edit icon) located on the right-hand side of their user entry.
- Click on the pencil icon to initiate the editing process.
Step 4. Adjust Access Permissions
- A popup window will appear on your screen, allowing you to modify the user's access permissions.
- Make the necessary changes to the user's permissions based on your requirements. You can typically adjust settings related to what actions the user can perform, what data they can access, and more.
- If you need to remove the user entirely, there might also be an option to delete the user within this popup.
Step 5. Save Changes
- After making the necessary adjustments, click "Save" or any similar confirmation button in the popup to confirm and apply the changes to the user's access permissions.
By following these steps, you can easily edit the access permissions of an existing user in Docsumo, ensuring that your account remains secure and tailored to the needs of your team.
Updated 8 months ago