How to setup auto classification?
Auto classification simplifies the process of categorising documents by automatically assigning them to relevant document types. This support guide provides a step-by-step process to set up an auto classification model.
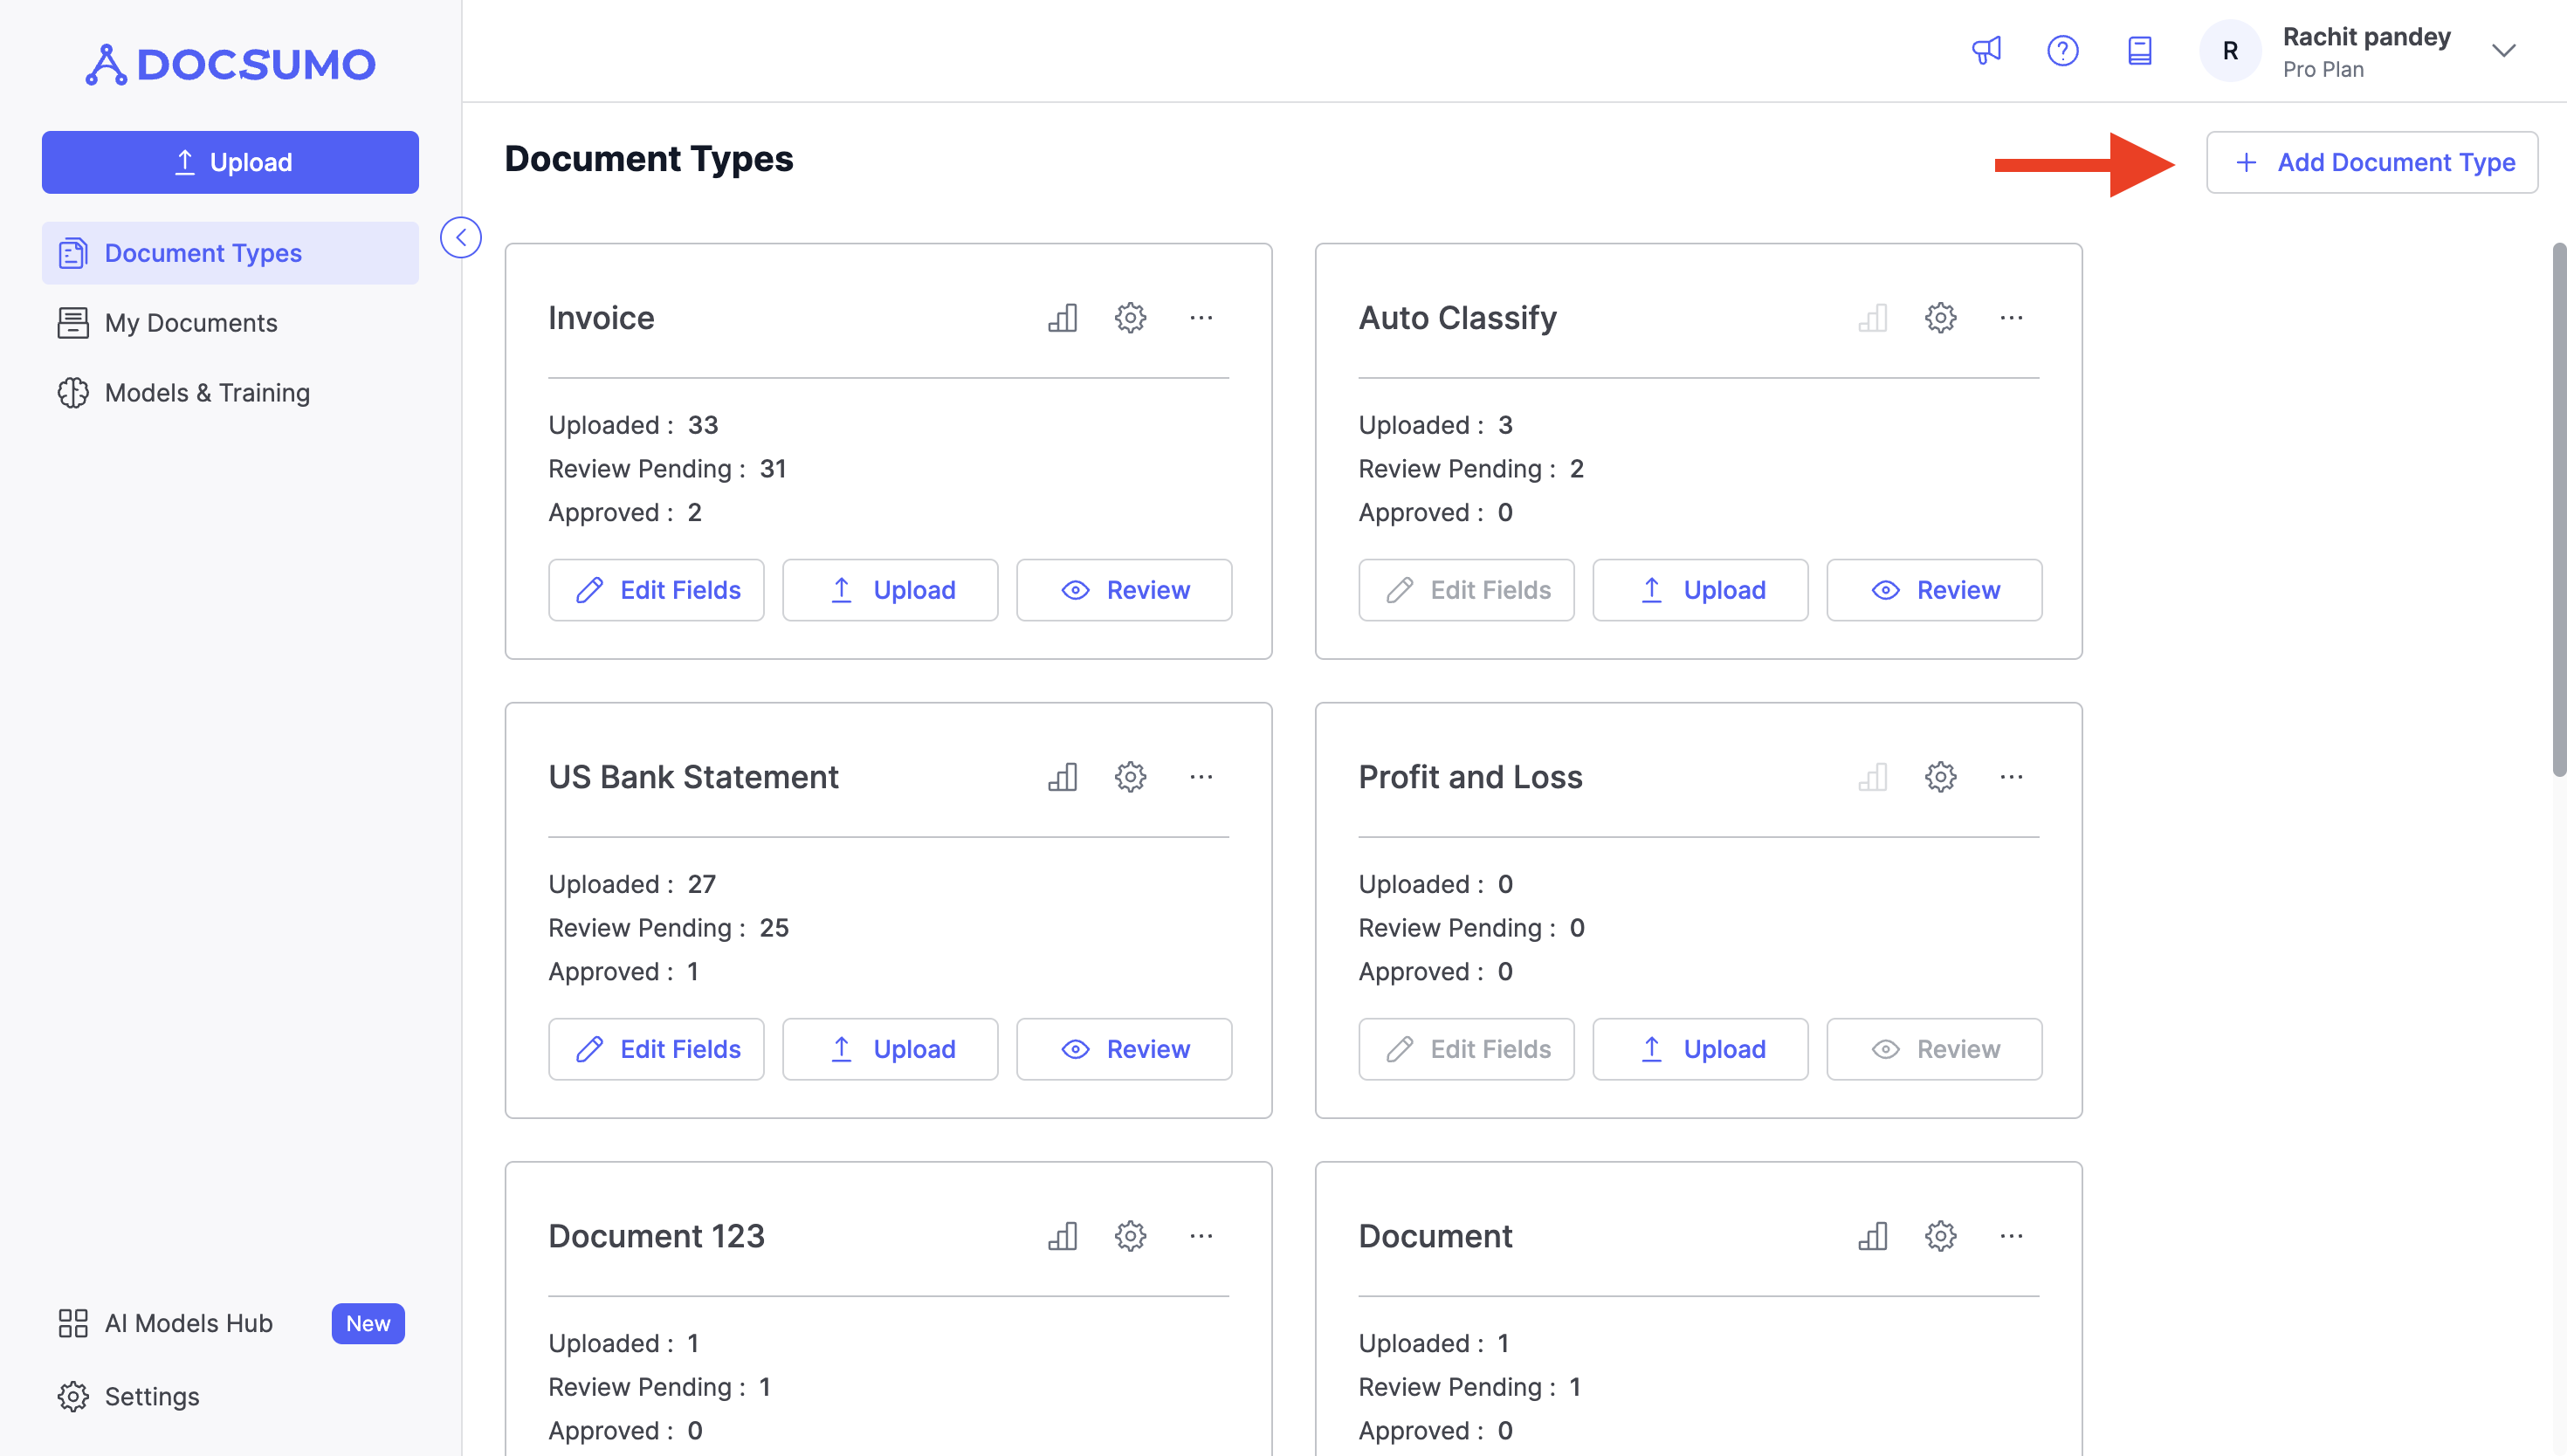
Step 1. Accessing the Document Type Page:
- Begin by logging in to your account.
- Navigate to the "Document Type" page.
Step 2. Initiating Auto Classification Setup:
- On the Document Type Page, click the "Add Document Type" button to start the auto classification setup.
Selecting Document Types:
- In the document type popup that appears, search for "Auto Classification."
- Select the document types you want to train the model to classify in the next popup. These document types will serve as categories for automatic classification.

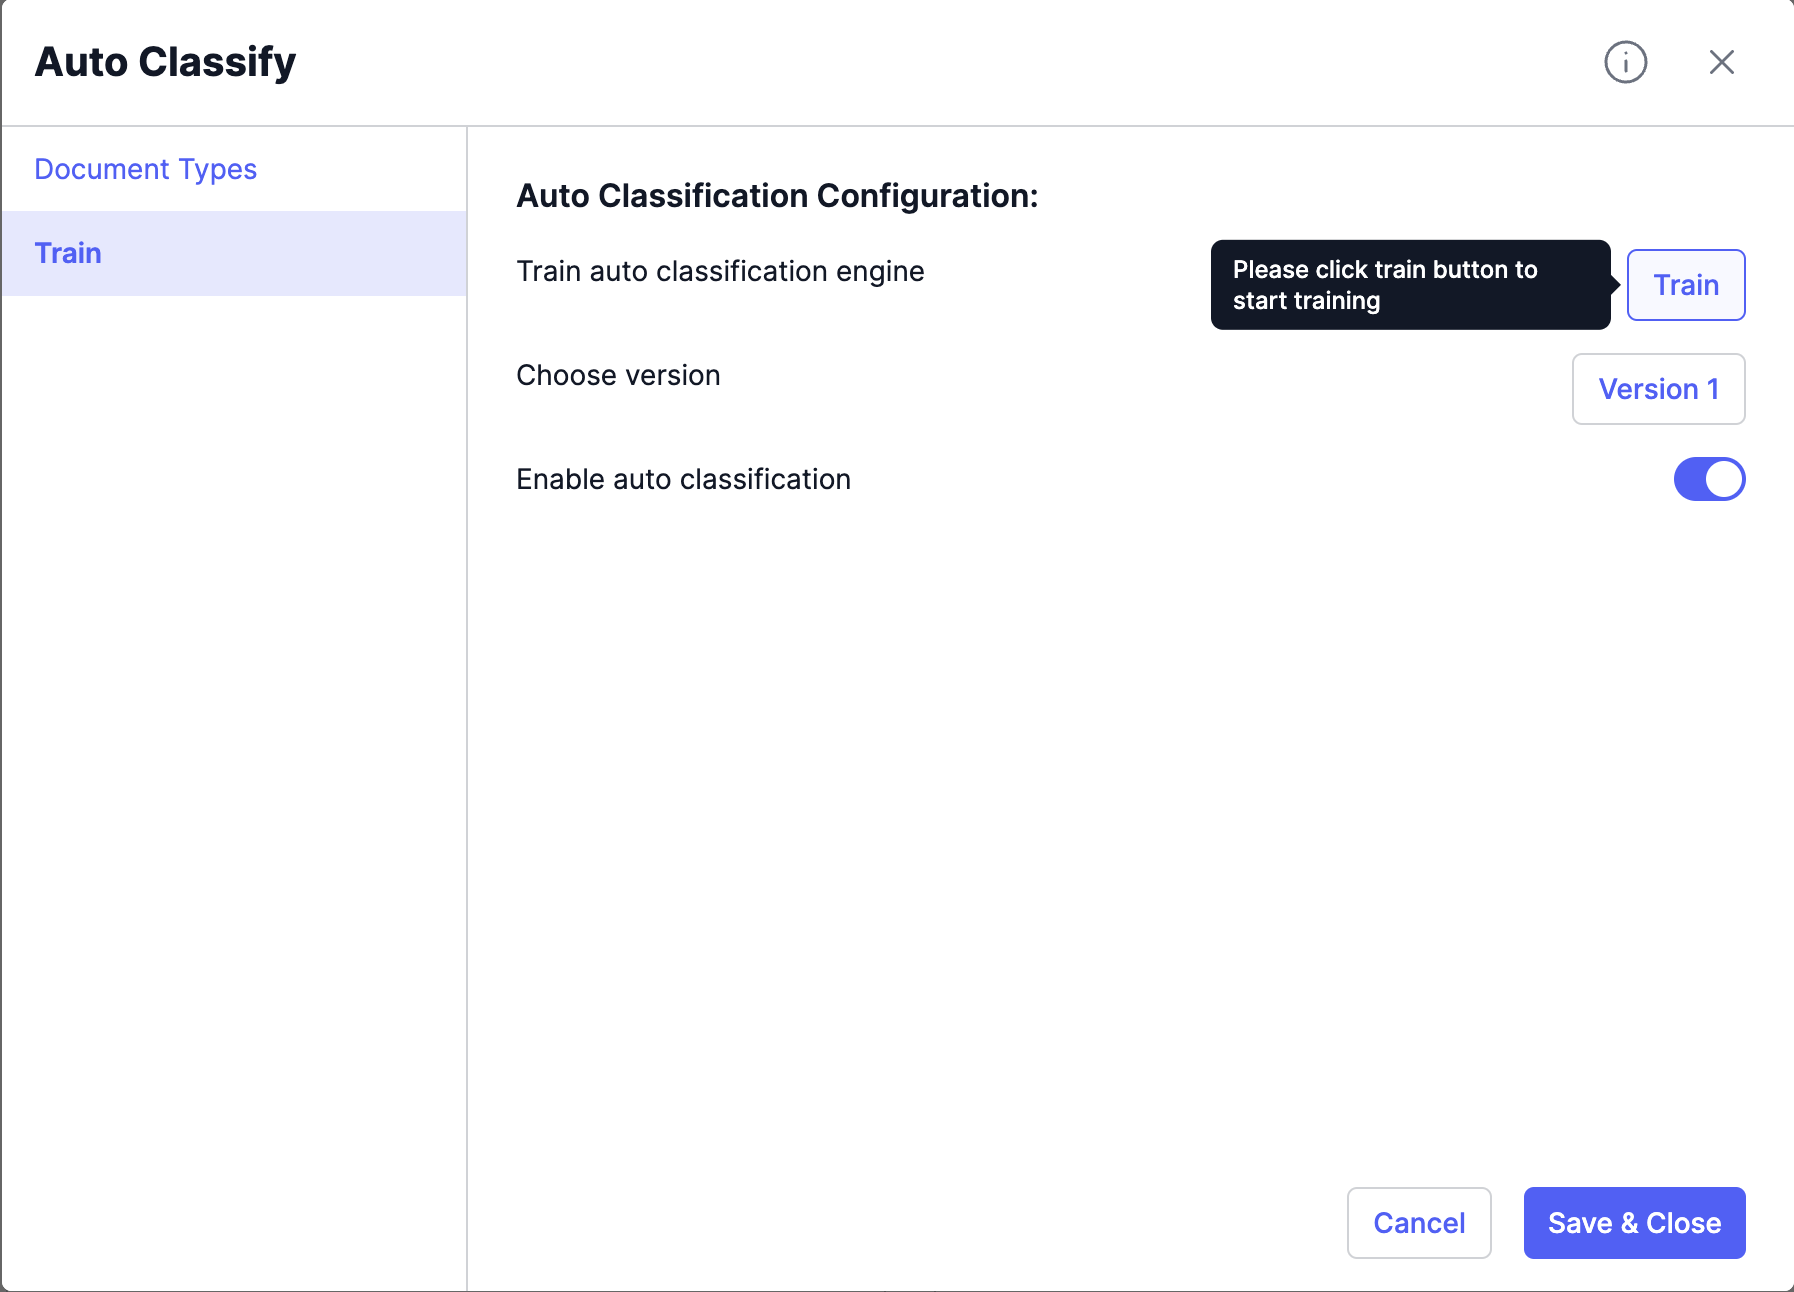
Step 3. Starting Model Training:
- After selecting the document types, press "Next" to proceed with model training.
- On the next page click Train and the system will initiate the training process, teaching the model to recognise and classify documents into the selected categories.
Step 4. Saving and Close
- Once training is complete, press "Save and Close" to finalise the auto classification setup.
- Your system is now configured to automatically classify documents into the relevant document types.
Now, whenever you upload documents, choose Auto Classification as the document type to upload them into. The auto classification model will work in the background to categorise them accurately to the right document type. In cases where documents aren't automatically classified, you can manually review and classify them into the appropriate document types.
By following this step-by-step guide, you can streamline your document classification process, reduce manual effort, and ensure documents are accurately categorised for efficient document management and processing in Docsumo
Updated 9 months ago