Webhook
Webhook URL is a unique web address or endpoint provided by an external service or application to receive real-time data updates, notifications, or events. When certain events or actions occur within the source service or application, it sends a POST request to the webhook URL you've specified.
How it's Useful to You
Using a webhook URL offers several benefits for keeping your application updated and responsive
-
Real-Time Updates: Webhooks ensure that your application receives instant notifications of relevant events, allowing you to act immediately.
-
Automation: You can automate processes in your application based on incoming webhook data, reducing manual intervention.
-
Data Synchronisation: Webhooks help keep your application's data in sync with changes happening on our platform.
Setup Webhook
Setting up webhook for your account is a 2 step process
- Add webhook URL
- Setup webhook notifications/events.
How to add Webhook URL?
Streamline your document processing with Webhooks in Docsumo by following these simple steps:
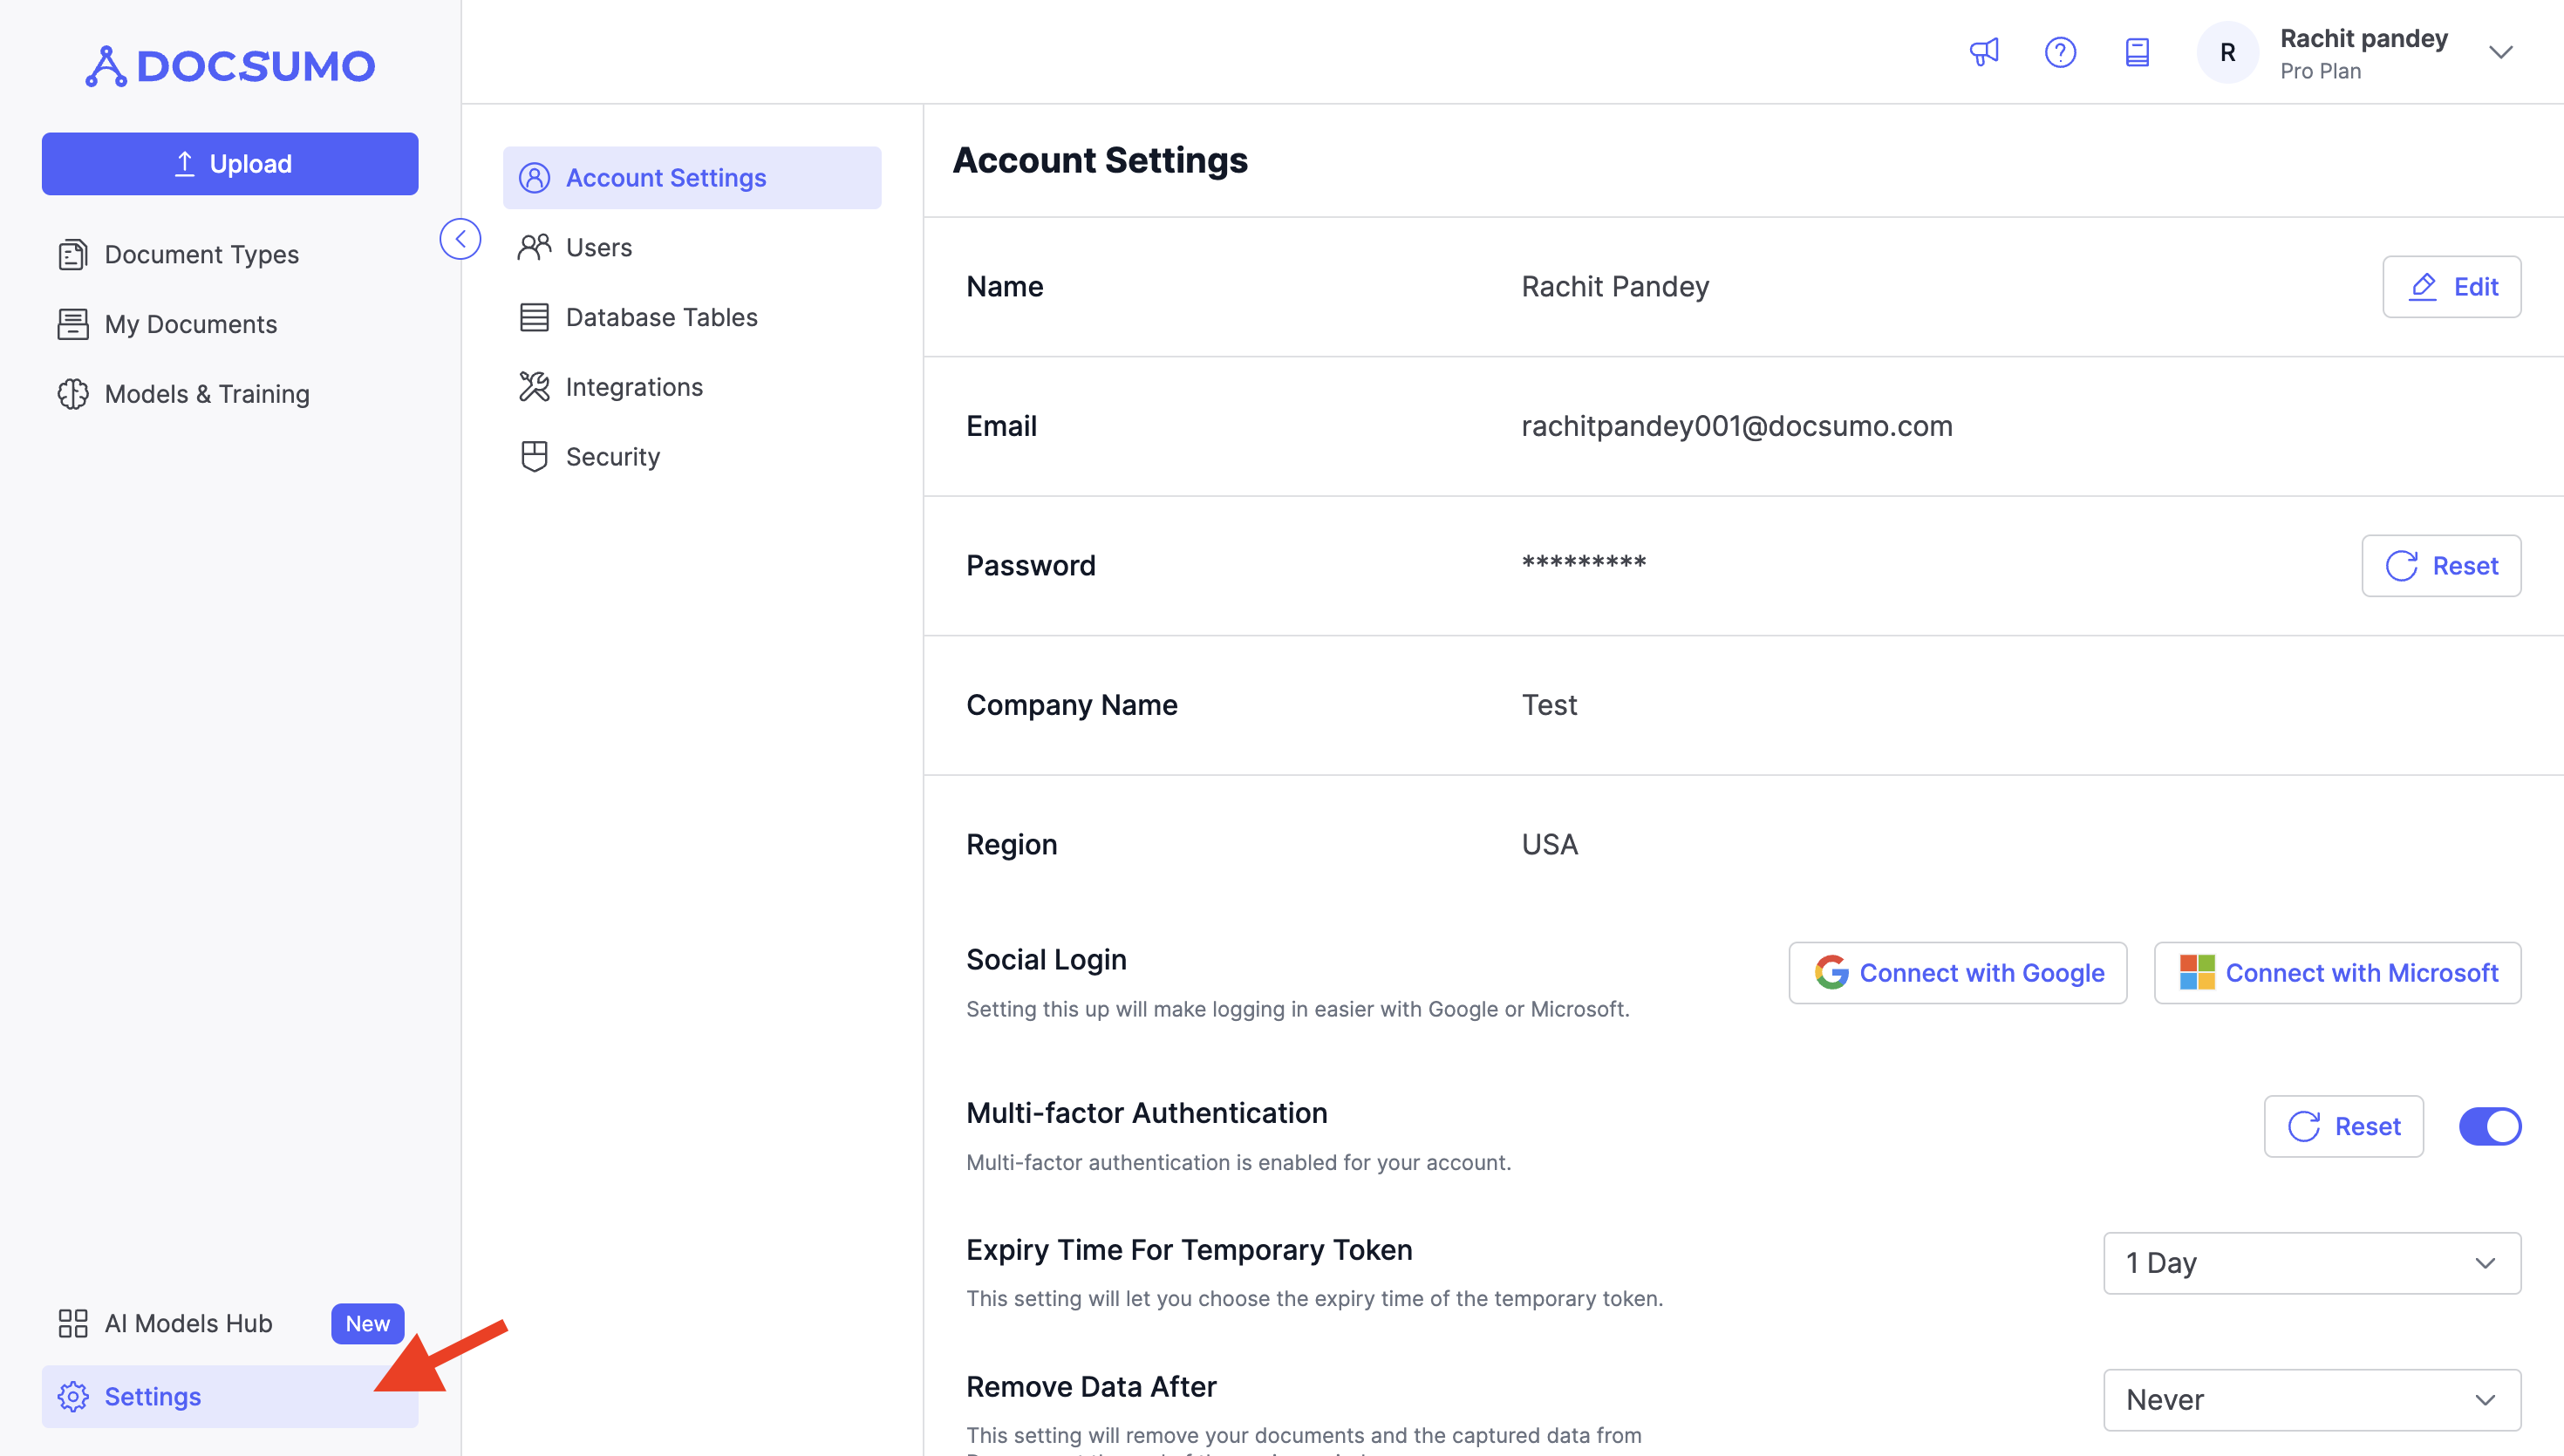
Step 1. Access Settings
- Begin by clicking on "Settings."
Step 2. Navigate to Integrations
- In the Settings menu, find and select "Integrations."
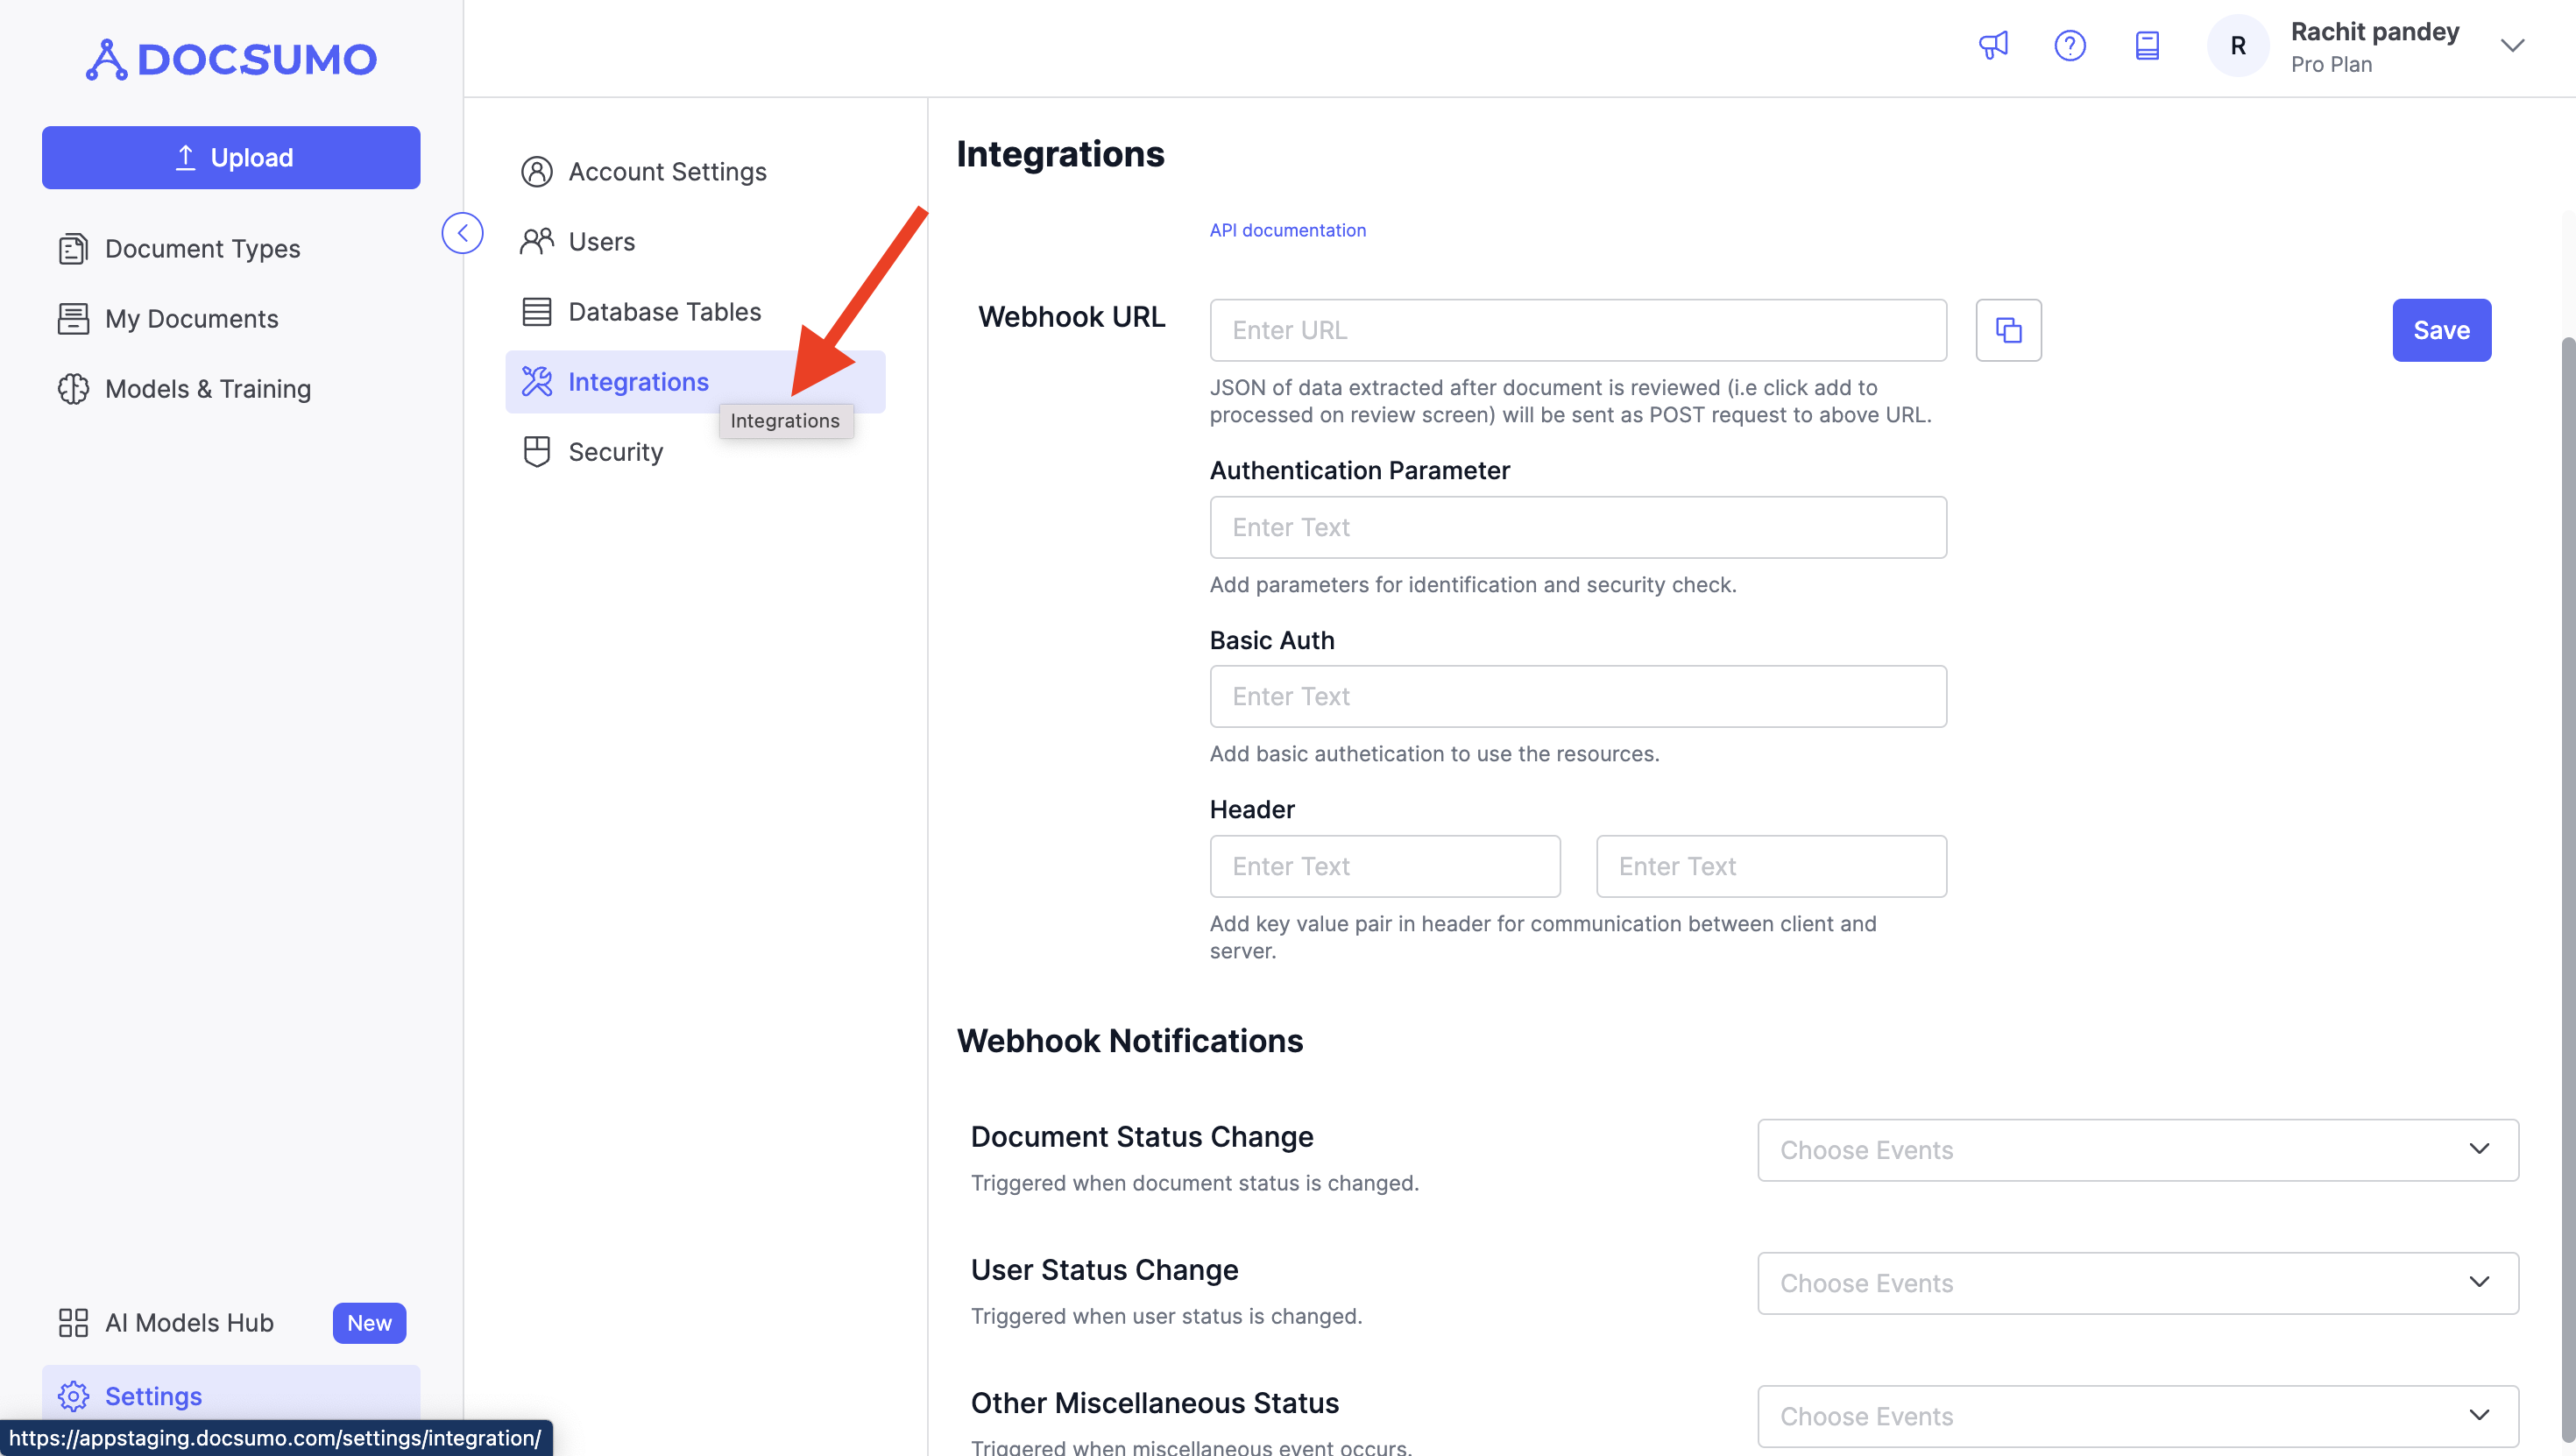
Step 3. Configure Your Webhook URL
- Locate the "Webhook URL" option.
- Click on "Edit" to enter your webhook URL in the provided text input box.
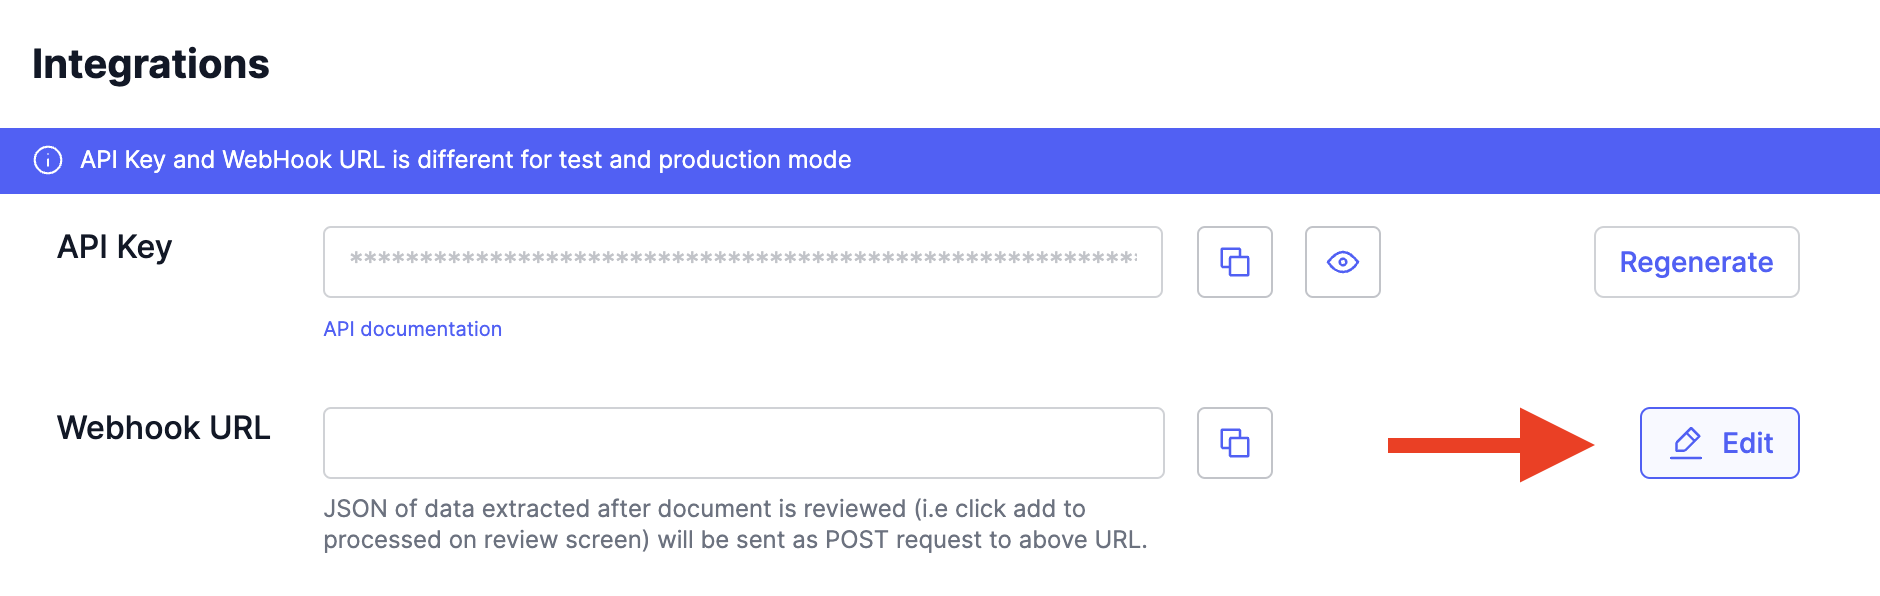
- You can also configure any relevant fields to meet your specific requirements.
Step 4. Save Your Settings
- Once you've entered the necessary information, click "Save" to confirm and apply the changes.
- Webhook URL is different for test and production mode.* Use HTTPS for your webhook URL to ensure secure data transmission.
Setup Webhook Events
Now that you've added a webhook URL into your Docsumo account, it's crucial to specify the events for which you want to receive data notifications on the entered webhook URL.
Step 1. Configure Event Preferences
- Within the settings, find the "Webhook Notifications" section.
- Here, you can select the events for which you wish to receive data notifications. The available options typically include:
- Document Status Change: Receive notifications when there's a change in the status of a document, such as processing completion or approval.
- User Status Change: Receive notifications when there's a change in the status of a user account, like account activation or deactivation.
Step 2. Save Your Preferences
- After selecting your desired event preferences, click "Save" to confirm your choices.
By configuring your webhook notification settings, you ensure that you receive timely and relevant data updates for the events that matter most to your document processing workflow.
Voila! You've successfully set up webhooks for your account, allowing for seamless integration and automated processes based on your document processing needs.
Updated 9 months ago